Last upholstery session for spring season

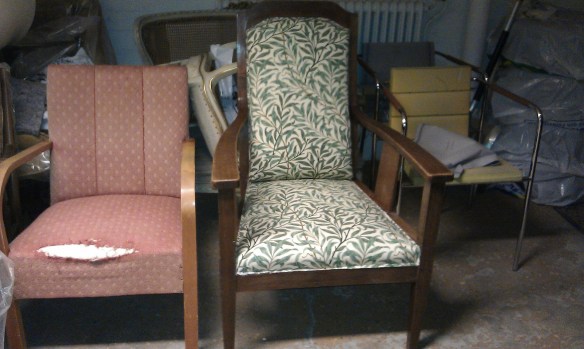
Yesterday was the last upholstery session before summer. Summer? Well, temperature wise it feels more like winter right now, but that is a totally different topic.

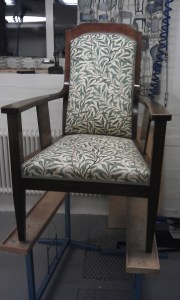
This is how far I got with chair number 2 of my antique chairs:

20160426_201356[1]

All the springs are set and fixed, and the first layer of thick padding (Cocos fibre) is covered by the fabric.

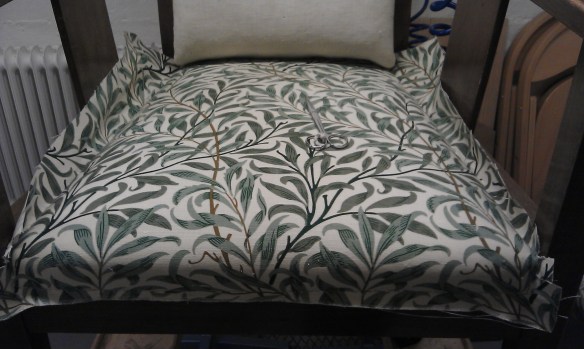
Yesterday it was the “gym-session”. That means that you have the chair lifted and that you try to make stitches with the thread that holds the padding. The stitches have to be set in a way that they do not interfere with neither the springs or any other threads, like the ones holding the springs. One uses a long needle with double tips for that, so that you can go back up with the needle without having to turn it. Which would be practically almost impossible, with springs all around.

20160427_205103[1]


Once the thread is set, one tightens it. One works backward and pulls the thread tight, in order to get a very firm padding as the first padded layer on top of the chair’s springs. One repeats the tightening process as often as needed, I think in this case it took about seven times until there was not much more to tighten.

After that, one fastens the fabric using a staple gun onto the wooden construction of the chair. I did the back s well as the sides.

The next step will be to add some more padding in the front, and then to fasten that part as well. The front also needs to be sewn in a special way.

I will keep you posted!


#44 of #blogg100

Project completed!

IMAG2333

One of the chairs that I wrote about in my last post is now actually renovated!
Yesterday evening the chair got a few nice layers of Shellac. Shellac is great to work with, because it dries very quickly. One has to be careful, though, not to apply the next layer too fast. Otherwise the first layer might dissolve again, resulting in the surface not being as shiny and smooth as it should be.

After that, the glue pistol got some work to do. It is an almost meditative, highly focussed work to get the furniture ribbon in the right place and straight, and no glue in places where there shouldn’t be any. Especially in the places that are not as easily accessible, like  where the armrests join the backrest.

Anyway, now everything is done, and the chair will move back to it’s home soon.

Here are some more pictures of this week’s masterpiece 🙂 . 

chairbeforeIMAG2330IMAG2329
Before                                                                        After

IMAG2327

The entire series you’ll find on Flickr!


Post #9 of 100


A new life for an old chair

IMAG2322

In my upholstery class, I am known for that having quite a stock of old chairs in the family heritage, that are in need of renovation. I am one of the few students who never has to worry about a lack of projects. In our garage and on the loft, there have been sleeping a number of sofa chairs who got a new life during the past years.

Actually, this was how I got started with upholstery. I saw the potential of the chairs – they are built of a quality you no longer find these days.

The current project are two similar chairs of the Jugendstil epoche. They got an entirely new inner construction, as well as a new outer fabric. The pattern is a design by William Morris, a famous English textile designer and artist of the same epoche (follow the link to read more about him). Morris’ many designs and patterns for wall papers, fabrics are much loved even these days.

The pattern of my fabric is a variation of his design “Willow Bough”, dated from 1887.

IMAG2308

Today I will hopefully be able to finish one of the two chairs, and then we can take it to our house in Grythyttan. I hope that both chairs at some point will find their place in our railway station in Grythyttan. They might fit well into the old station master’s flat, or in the first class waiting room.

Here are more pictures of the restauration progress on Flickr. 

IMAG2322